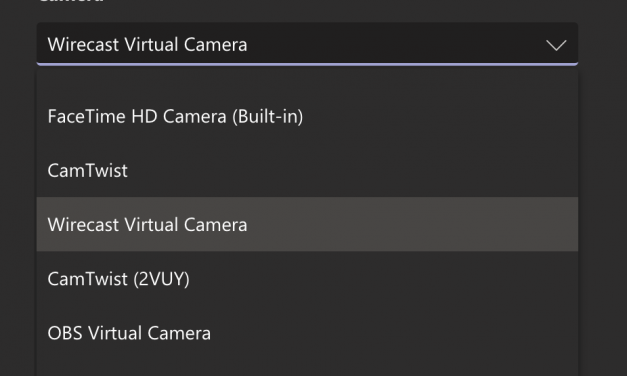
Fix Microsoft Teams to enable virtual webcams ON MAC
I personally use virtual webcams with software like Wirecast and OBS to send video, graphics and...
Read More
I personally use virtual webcams with software like Wirecast and OBS to send video, graphics and...
Read More
I just received the newly released SanDisk 256GB Extreme Pro USB 3.1 Solid State Flash Drive and...
Read More
A couple of days ago I had the sudden urge to get a speaker for the kitchen. I needed something...
Read More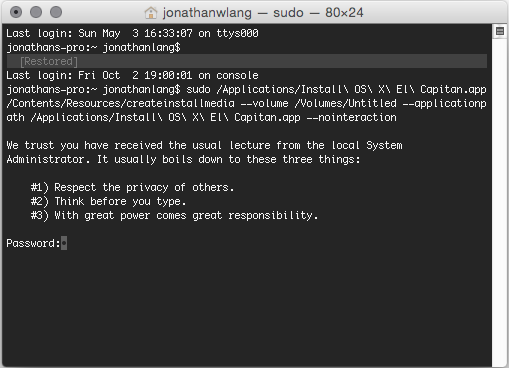
Much like Yosemite last year, it looks like Apple’s latest OS doesn’t like doing an...
Read More