
A lot of people are now working in a mixed environment that includes MS Windows-based PCs as well as Mac OS X computers. While many applications are cross-platform these days, one annoying difference between the two platforms are the default file systems used for external hard drives and USB sticks. Most hard drives purchased these days will be formatted in either the Windows standard NTFS, or (less commonly) the Mac OS X standard HFS+.
Mac OS X machines will be able to read hard drives set up as NTFS, but won’t be able to write files onto the drive. Windows machines will completely ignore HFS+ formatted disks. There is software available to get around this issue, but it needs to be installed on every machine, (and in some cases costs money.) An easier way is to reformat the drive with a file system that both platforms can read and write to. This format is FAT.
There are some downsides to FAT. For starters it won’t support files larger than 4GB. This shouldn’t be a problem for most people, but it may affect you if you’re working with large video files. Another issue is that Time Machine, (Apple’s built in backup utility) will NOT work under a FAT hard drive (it needs to be HFS+). Despite these issues, having a drive formatted in the FAT file system makes transferring and working on files between platforms a LOT easier. (NOTE that there ARE ways to get around the aforementioned issues, but they are a little more complex and beyond the scope of this clip.)
Below is a video which gives an overview of the issues around different file systems, as well as a quick run through of how to set up your hard disk to work under Mac OS X and Windows computers.
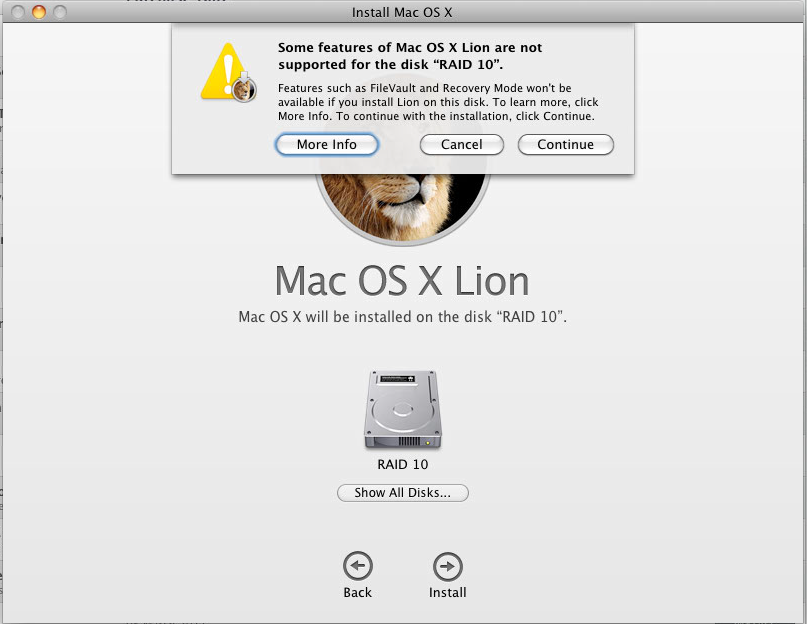
Please be sure to BACKUP (copy to another location) any important data on your hard drive before following the steps in this video. You can copy the files back onto the drive after setting the drive up using the FAT file system. Reformatting will COMPLETELY ERASE your drive!

A more flexible and elastic tone is restored to the total body, and with that, the body’s own self healing mechanism is awakened.. Often the message is their client needs help.. “It’s sad to see it because it’s something that you never expect to happen,” she said.
cheap toms shoes,cheap toms,cheap toms shoe,discount toms shoes,discount toms,toms shoes,buy toms,toms shoes for sale,cheap toms shoes for sale,toms shoes outlet,toms shoes for sale,toms shoes,toms shoes outlet,toms shoes for sale,toms shoes cheap,toms shoes online,toms shoes for sale,cheap toms shoes for sale,toms shoes for cheap,pre order toms shoes,pre order cheap toms shoes,cheap toms shoes,buy cheap toms shoes,authentic toms shoes,authentic cheap toms shoes,buy toms shoes,buy cheap toms shoes,order toms shoes,order cheap toms shoes,toms shoes online,buy toms shoes online,toms shoes 2015,cheap toms shoes 2015 [url=http://www.isatec.it/public/cheaptomsshoes/]cheap toms shoes,cheap toms,cheap toms shoe,discount toms shoes,discount toms,toms shoes,buy toms,toms shoes for sale,cheap toms shoes for sale,toms shoes outlet,toms shoes for sale,toms shoes,toms shoes outlet,toms shoes for sale,toms shoes cheap,toms shoes online,toms shoes for sale,cheap toms shoes for sale,toms shoes for cheap,pre order toms shoes,pre order cheap toms shoes,cheap toms shoes,buy cheap toms shoes,authentic toms shoes,authentic cheap toms shoes,buy toms shoes,buy cheap toms shoes,order toms shoes,order cheap toms shoes,toms shoes online,buy toms shoes online,toms shoes 2015,cheap toms shoes 2015[/url]